Livermush - Greene Family Farm Style
Each October, we North Carolinians celebrate one of the most distinctive Southern food traditions passed down through the years: liver mush. It is one of those foods that you have to grow up eating to appreciate. Many of our mothers and grandmothers remember helping to make liver mush on the farm when they were young, and, while the dish itself is still widely available, many of them think no one does it at home anymore. Only a few people do, and, after you read this post, you can be among those few. We no longer have to make an enormous batch on hog-killing day and eat it up within a month before it goes bad. Thanks to freezers, refrigerators, and food processors, we can now make small batches as we please and eat them up in a week.
My pictures will show large portions, because that is what I use when making liver mush for my family. You will see me using a whole pork liver that weighed 4 or 5 pounds, a pork heart, and a respectable quantity of plain ground pork for a total of nearly 12 pounds of meat. Yes, that is a lot of liver mush, though nothing like what my own great grandmother made when she and her family butchered twenty hogs each fall. Liver mush takes roughly equal weights of organ meat and plain pork meat (though the ratio varies from family recipe to family recipe), so anything that was not hung in the smokehouse or ground up for sausage, such as the head, often went into the liver mush.
Here is my recipe, cut down to make a single loaf or block of liver mush. All you will need is a 1 pound package of ground pork and a 1 pound package of pork liver (we offer both). The only fancy equipment required is a 4 quart stockpot, a food processor, and a sturdy long-handled spoon.
1 pound of pork liver
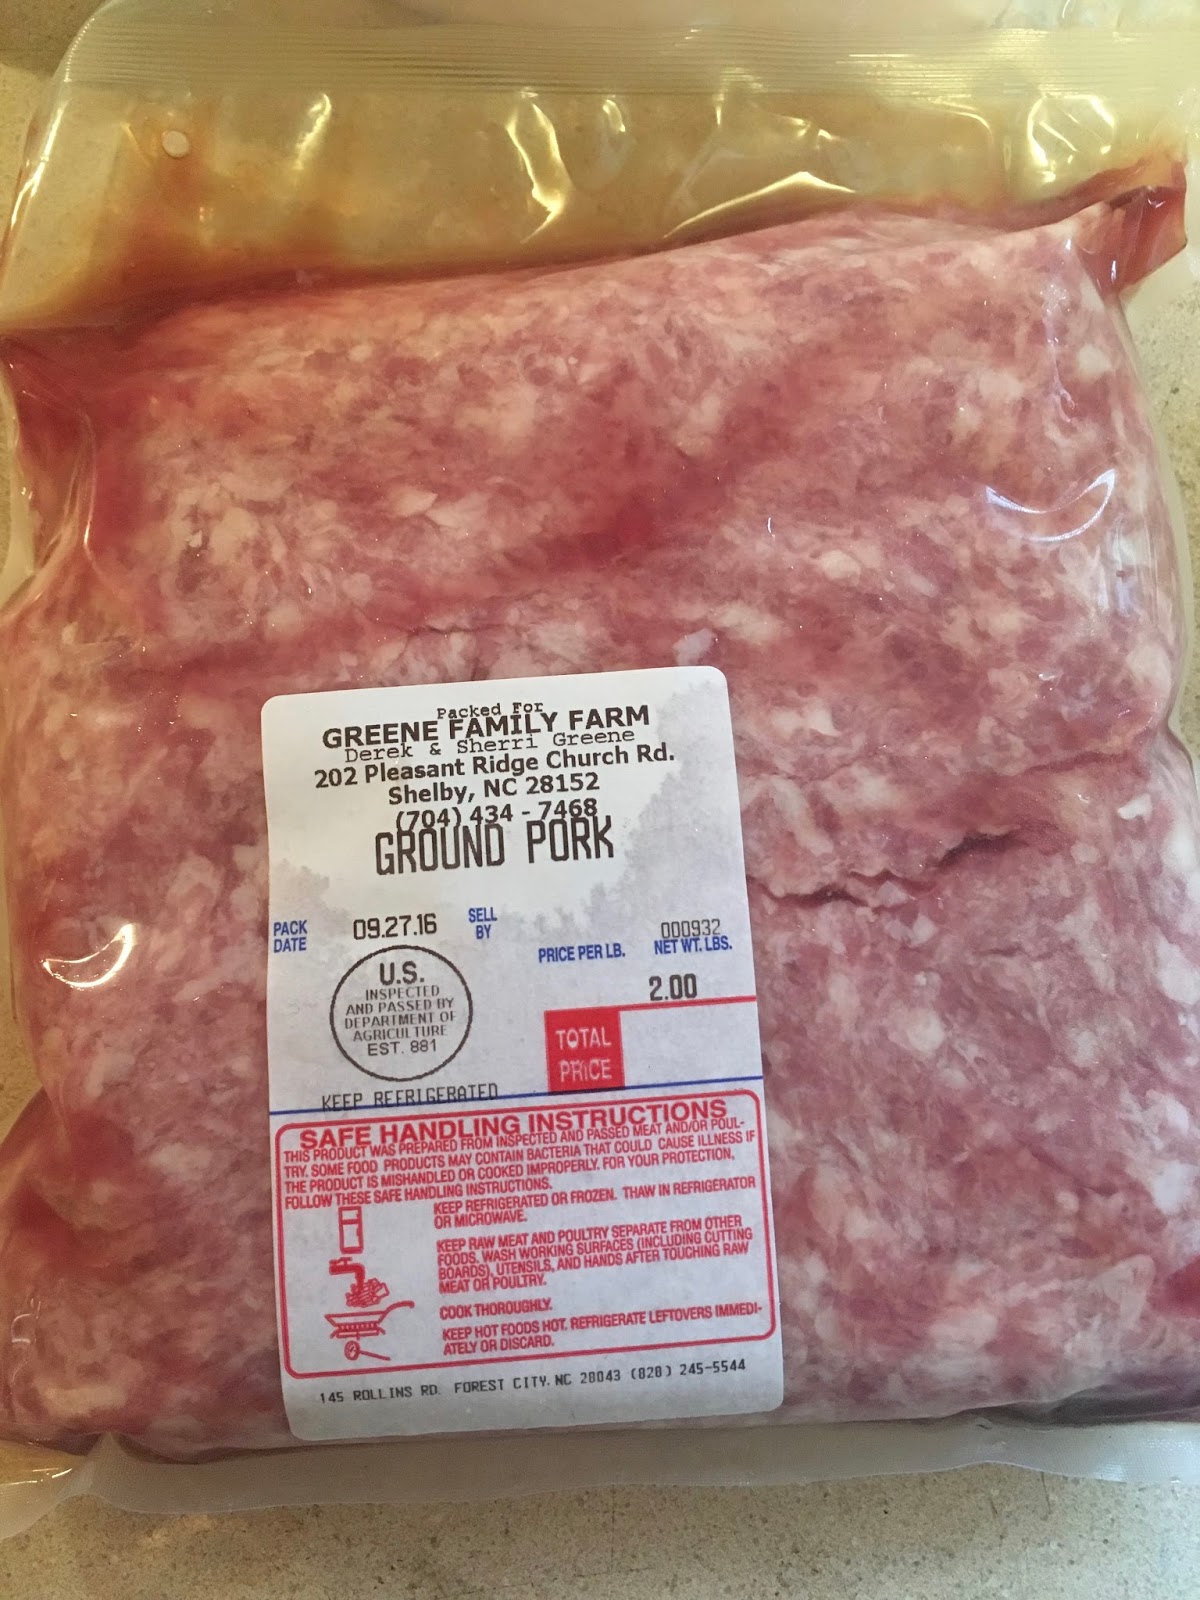
1 pound of ground pork
1 1/2 tbsp. of sage
1 generous tbsp. brown sugar
2 tsp. of salt
2 tsp. of black pepper
1/2 tsp. of cayenne pepper
1 cup of chicken stock (homemade chicken stock works best because it is thicker and more gelatinous than store bought)
1 tbsp. of bacon grease (optional)
Approximately 1 cup of cornmeal

First, place the thawed organ meat in a large stockpot and cover it with water. Let it simmer on medium heat until cooked through, about 30 minutes. It will look creepy, but don't be alarmed. Remove the liver from the stockpot and cut it with a steak knife into chunks half the size of your fist; if it is still purple and squishy in the middle, put the squishy chunks back in the pot to simmer for a few more minutes. Keep the sludgy-looking brown water after simmering; it comes in handy later.

Next, brown the ground pork in a skillet and drain the fat. Set the fat aside to use later.


Put a couple chunks of liver and some of the ground pork in your food processor and add 1/4 cup or so of the simmering water to moisten it; this will make the meat easier to grind. Pulse the food processor a few times to start breaking up the chunks and then turn it on for 10 seconds at a time, scraping down the sides and checking the texture in between. If it appears very dry, add another splash of simmering water. When the meat looks "mushy," it is sufficiently processed; don't go so far as to make it a smooth paste, or the final consistency will be wrong. Return the mush to the empty stockpot and repeat this process as many times as needed until all the meat is turned to mush.


Next, combine all your spices and seasonings in a small bowl and dump the mixture on top of the meat, stirring thoroughly to distribute everything. Turn the medium heat back on under the pot. Also add the bacon grease and chicken broth and stir them in. I like to use the drained fat from the ground pork as part of the liquid and make up the remainder with chicken broth, but that is optional.


Then for the impressive part: adding the cornmeal. The rule of thumb is to add 1/3-1/2 cup of cornmeal for every pound of meat, but bear in mind that is only a guideline. The liver mush will tell you when you have enough. Start with a cup of cornmeal and gradually sprinkle it in the pot, stirring aggressively as you go to keep anything from burning to the bottom of the pot. The mixture will thicken as the cornmeal cooks. I have to add 6 cups or more of cornmeal to my big batches, but 1 cup may be sufficient for a small one. How do I know, you say? When your arm is sore and the mixture is too thick to stir, it is ready. This step is also what I call kitchen "play time"; taste the mush as you work and see what you think. Do you want more sweetness? More heat? More sage? Don't be shy, throw some in! Liver mush is very flexible. Here is a video of this step for a big batch; it gave me a new respect for my great grandmother, who did this in a huge cauldron over an open fire, stirring with a big wooden paddle.
The completed liver mush will look grainy and be very thick.

Scoop the liver mush into greased loaf pans (your small batch should only require one pan), cover each pan with plastic wrap, and store them in the refrigerator. After they have chilled overnight, try turning a loaf out of the pan and wrapping the entire thing in plastic wrap. This will make it easier to slice, but homemade liver mush does not hold together quite as tidily as commercially made liver mush, so be prepared for anything.


And the most important tip of all? At breakfast, fry the liver mush first and scramble your eggs right behind it in the same skillet. There is no egg like the egg cooked in that hot, seasoned skillet, with a few bits of crunchy liver mush left in the bottom.
Anne Marie
Great recipe thank you! Could I use ground chorizo pork for a spicy liver mush? Also what size are those loaf pans? This looks authentic!
ReplyDeleteI grew up in northwest South Carolina and we had liver mush occasionally and upon talking to someone else from the south recently I thought about it and looked it up and found your recipe. Thank you! It came out good and brings back memories. I love it with scrambled eggs and toast.
ReplyDelete